


We patched the broken foam area with some shmooey / slurry, then heated the surrounding area with a heat gun until it was warm. We re-formed the area into the shape that we wanted. We think it's going to work out. Yay!
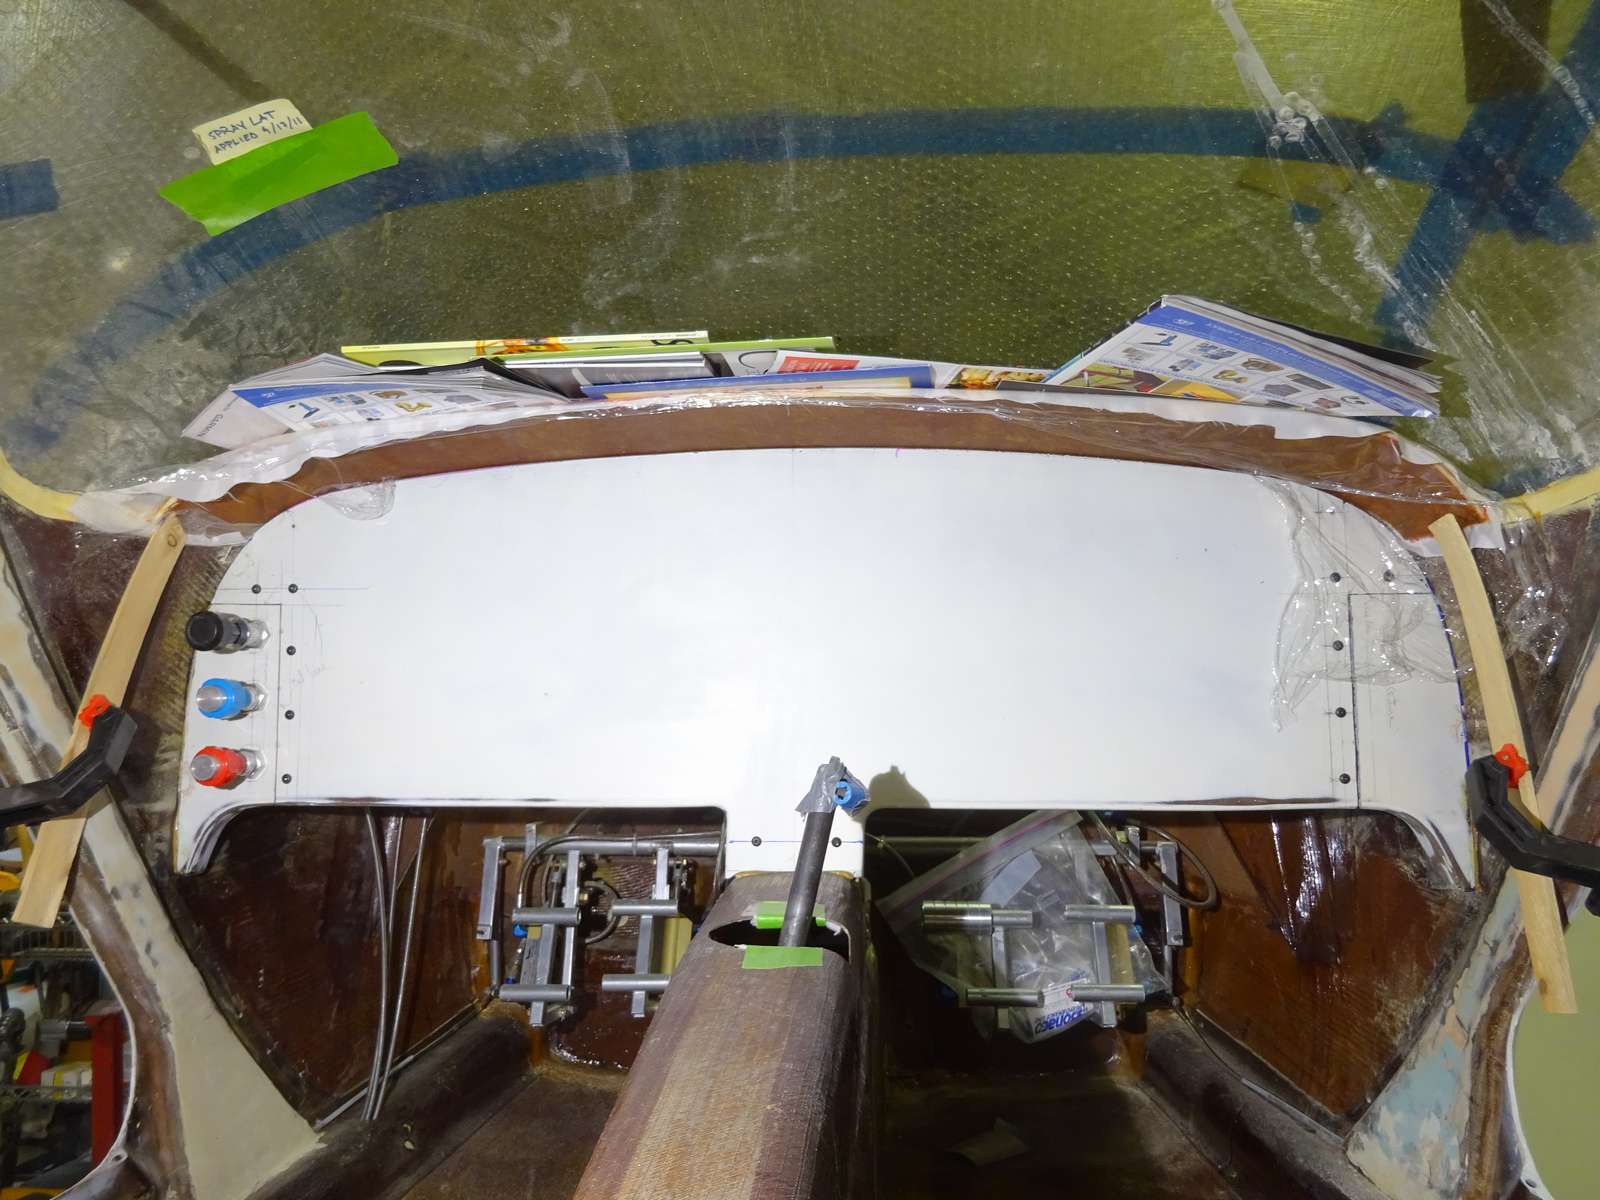
This will look familiar if you've read Andy Millin's build site. We applied a layer of bid to the top of the glare shield, a layer of peel ply, and a layer of thin plastic wrap. We slid the piece into place, then weighed it down with lots of magazines. We elected to bring our glare shield down on the sides, and the shims clamped to the door hold the far edges of the glare shield in place.
1/29/2019 Picture 383