


The hinge installation has been finished with pop rivets.
Here are the steps of our (successful) piano hinge installation:
1) � Do a dry fit of the hinge to check ease of hinge pin operation. With
� � � clamps in place, mark the location of the hinge.
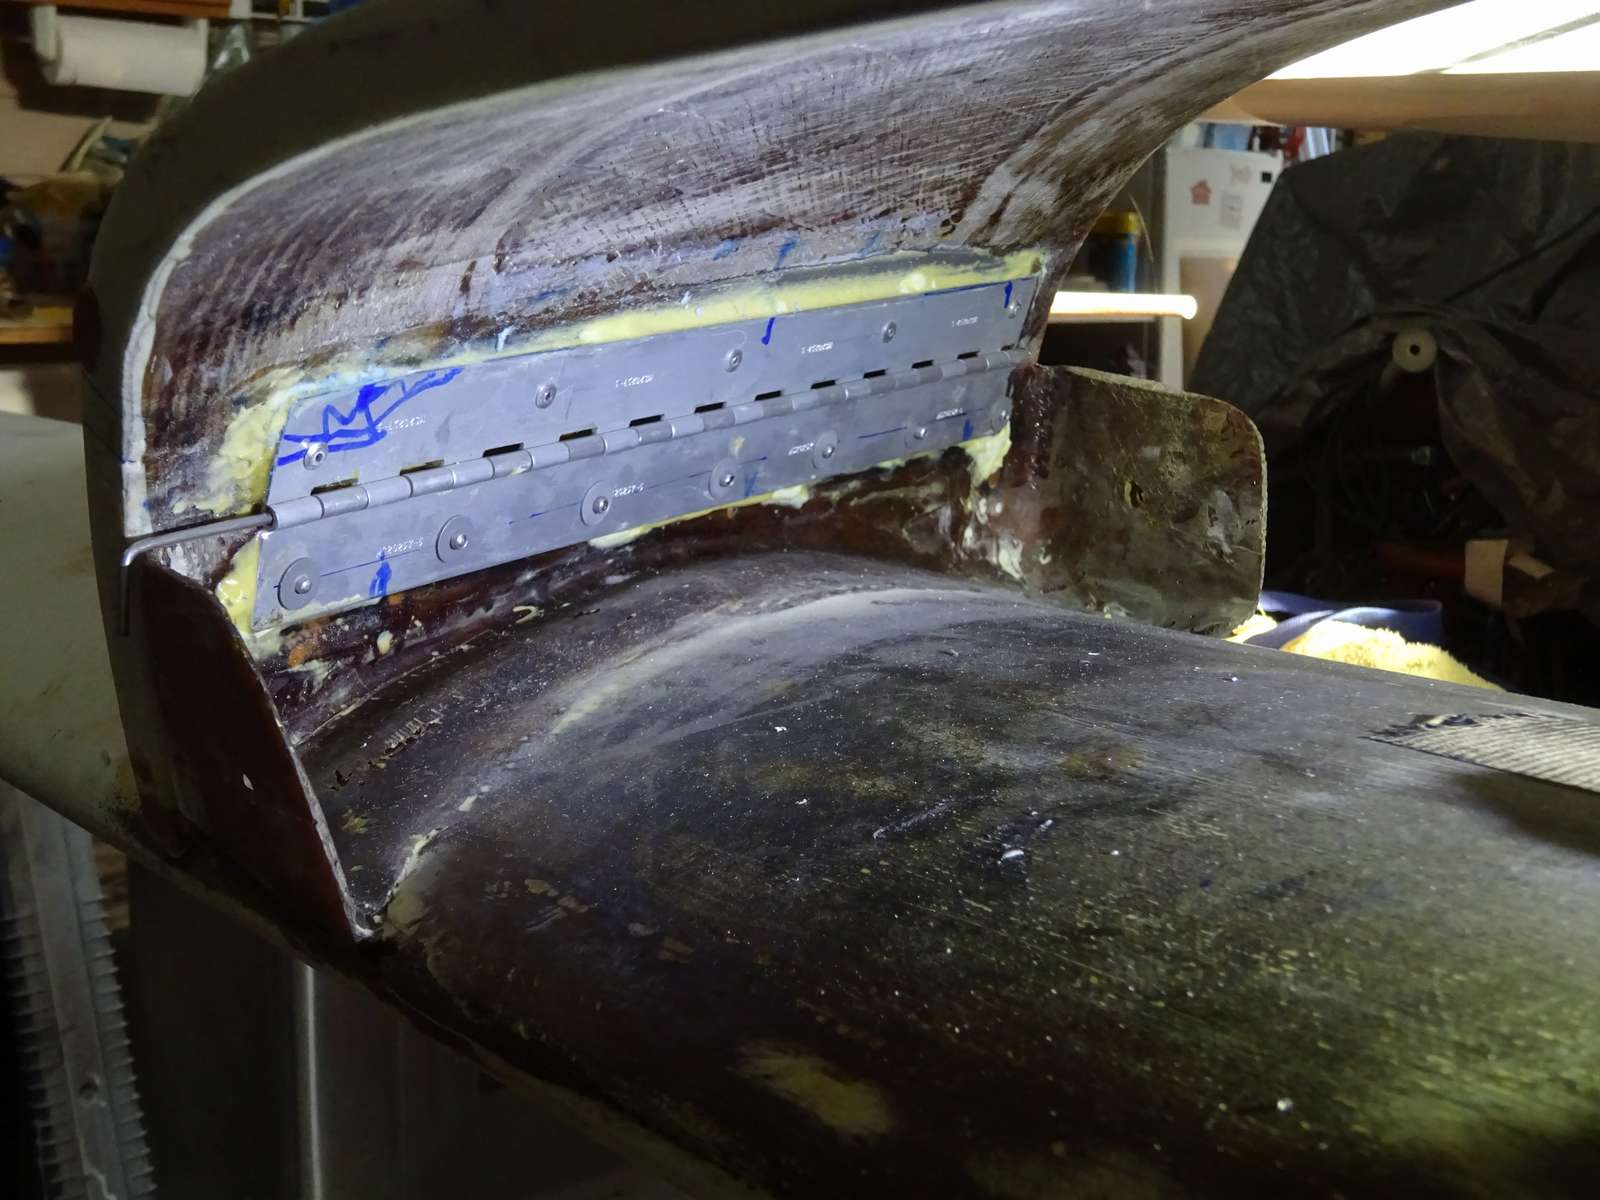
2) � Grease the hinge. Use structural epoxy to create standoffs for 3-D � � � location of the hinge. Clamp in place, and verify ease of hinge pin � � � extraction. � Let the standoffs cure.
3) � Remove the clamps and check the doghouse fit in the fuselage. Remove � � � the canard from fuselage.
4) � Remove the hinge assembly.
5) � Add structural epoxy between the standoffs for the top half of the hinge. � � � Reassemble with clamps and check hinge pin operation. � Cure.
6) � Disassemble and fill the void behind the hinge half. � Reassemble � � � while the fill cures.
7) � Disasemble.� Repeat steps 5 & 6 for the bottom half of the piano hinge.
8) � After final fit, pop rivet the top hinge from the inside. On the bottom � � � hinge, install countersunk pop rivets from the outside of the flange. We � � � added backer/backup washers to spread the load under on the bottom.
This feels like a lot of time, but we've decided that it's better to incrementally ensure hinge operation than to rush the process and have to start over.
For details of this process, begin at picture 480.
For the more painful tour of lessons learned, start at picture 474.
A different solution to the hinge-pin-bind problem (picture 479) is to order under-sized hinge pin stock. Andy Millin found this at at MicroGroup. They sell stainless steel wire in OD increments of 1/1000th. He plans to replace all of his hinge pins with 0.085-inch or 0.086-inch OD wire. (https://www.microgroup.com/product-category/wire/)
10/8/2019 Picture 488